|
These Mick-O-Pegs will mount to the forward two valve cover bolts on each 'head'.
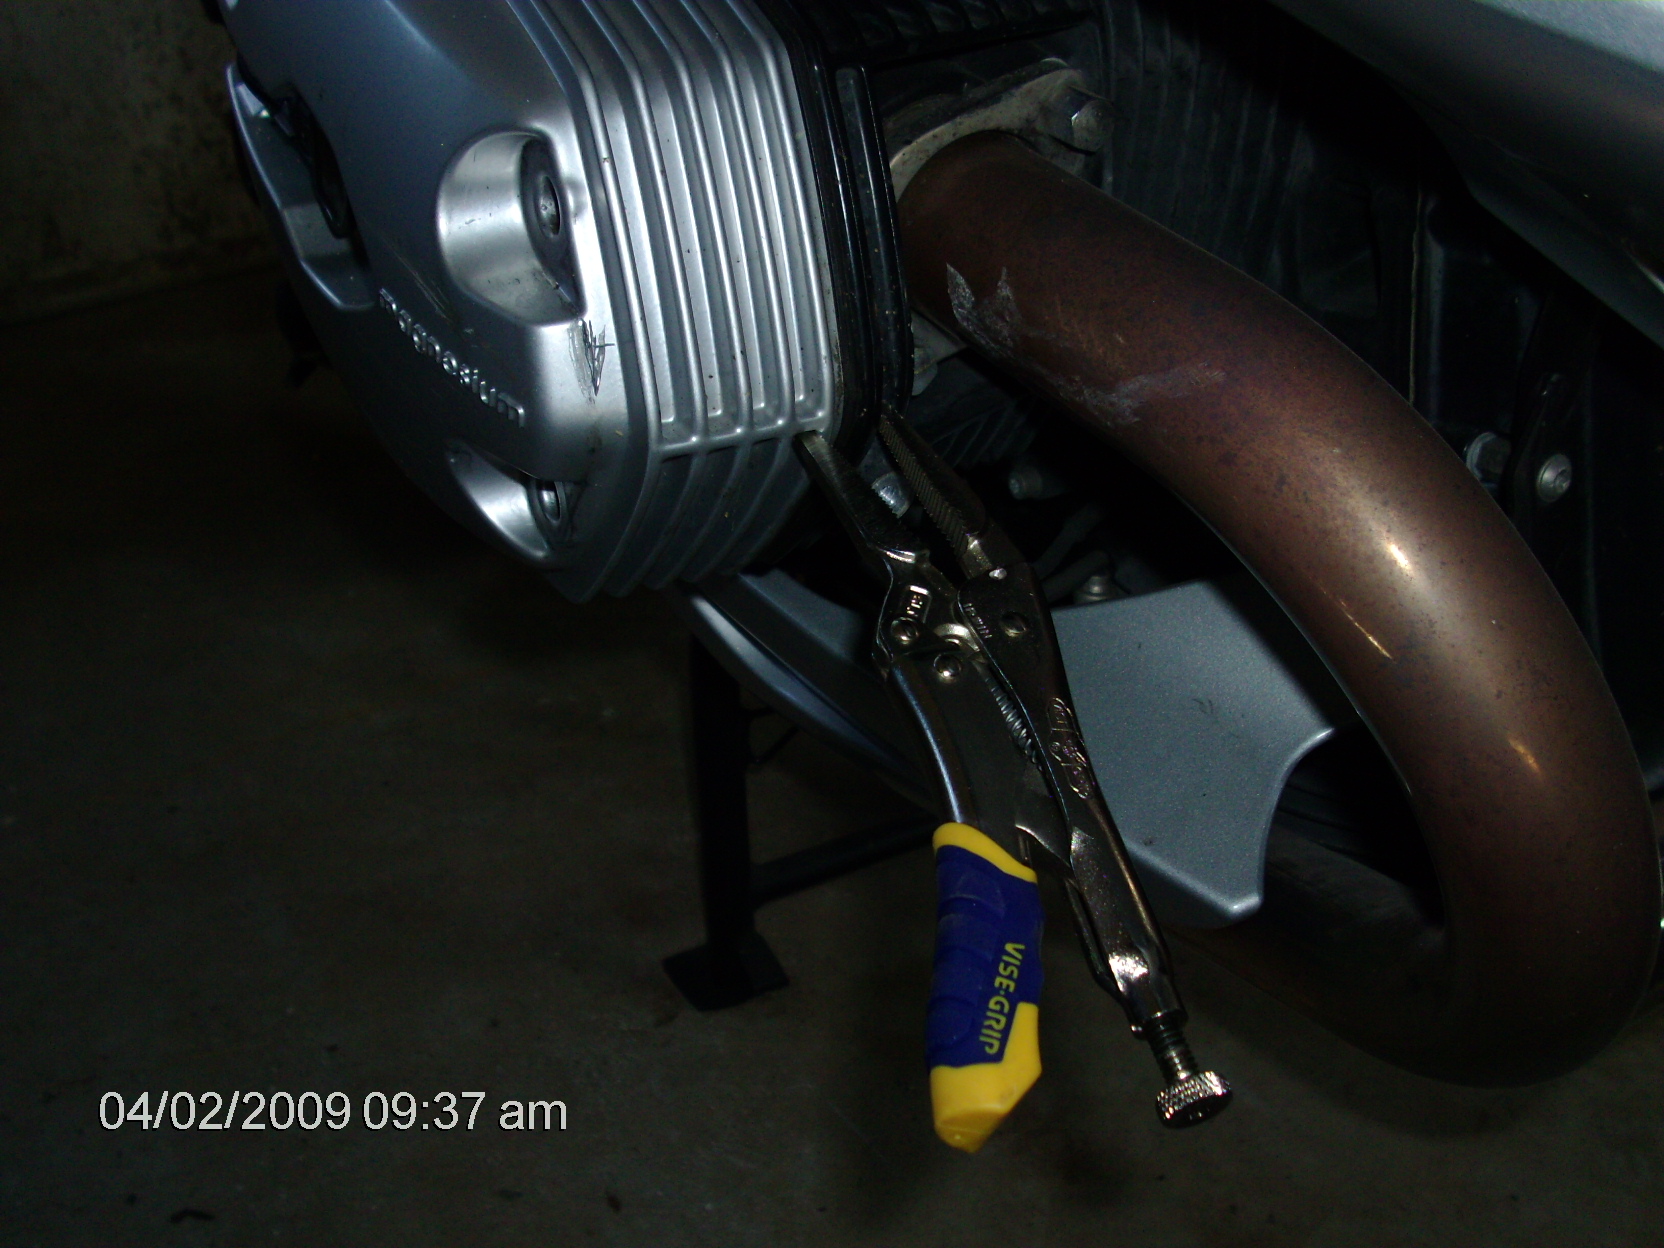
1) Use a small vice grip or clamp at the front edge of the valve cover to keep the valve cover against the 'head' and avoid oil from draining. Another option would be to lean your bike to one side as you work on the 'high side'. You may still have some oil leak out, but less when the engine is cold.
If you decide to not clamp the valve cover, the only tools you'll need is a scribe (like small ice pick), 7/16" end/box wrench and the tool from your kit to remove the forward valve cover bolts.
2) Remove the two forward bolts. The rubber through which the bolt passes, will want to keep the bolt in the valve cover and just pulling on the bolt makes the rubber lock it in tighter so you'll need to 'work the rubber out' of the valve cover with your finger nails or small dull tool.
3)Remove the washer from the two forward bolts. You'll need to get the rubbers off the threaded end of the bolts to remove the washers, then reinstall the rubbers during step #4. A small 'metal scribe' - like an ice pick - works well. If you have a tendency to stab or cut yourself, you may want to hold the bolt in a table vice. Put the scribe through the rubber, alongside the bolt and use the scribe to work the rubber up and over the shoulder of the bolt near the threads.
4) Put those two forward bolts through the correct bracket so the bracket extends down and under the head. The bracket provides a washer replacement and also provides a recessed area for the rubber. Replace the rubber onto the bolts - using the lessons learned when removing the rubbers. The rubber will be snug, but will fit into the back side of the bracket.
|


